Setup a custom OAuth Client ID for Google Drive
Here is how to create your own Google Drive client ID for Air Explorer:
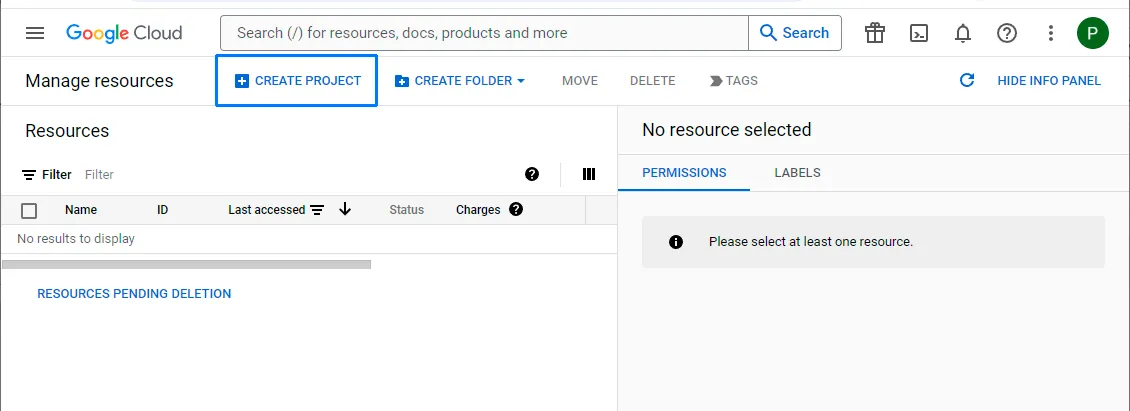
1- Sign in to Google Cloud Resource Manager and CREATE PROYECT.
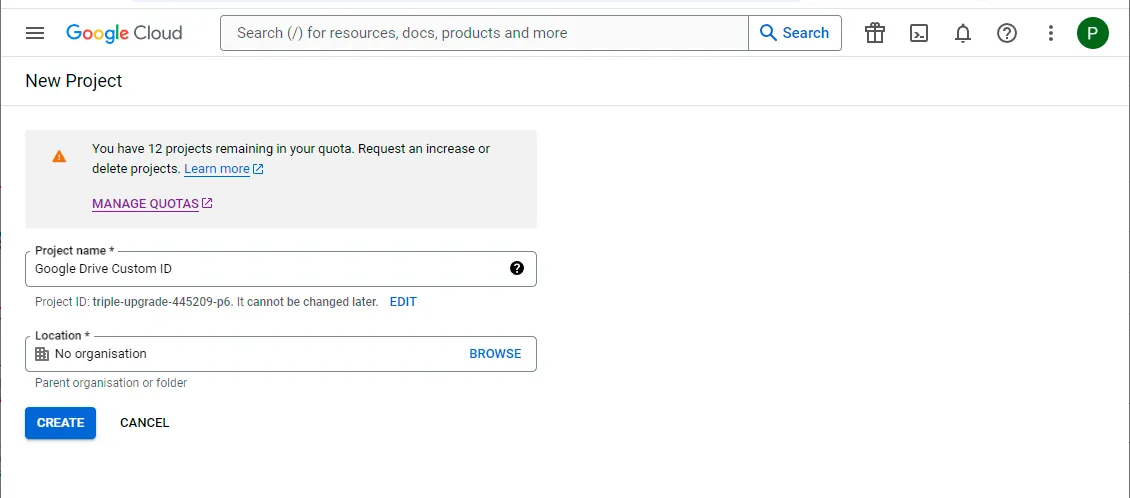
A prompt will appear, asking you to choose a name for your project. Enter, for example, “Google Drive Custom ID” for the project name. And click on CREATE.
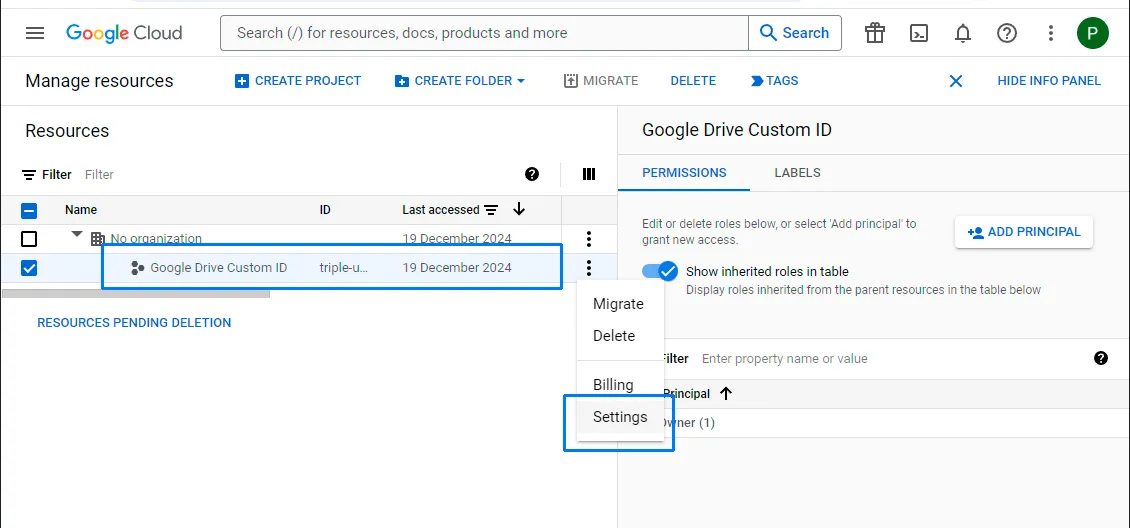
Select the project you have just created and enter in the project Settings.
2- Click on the menu button to show the project menu.
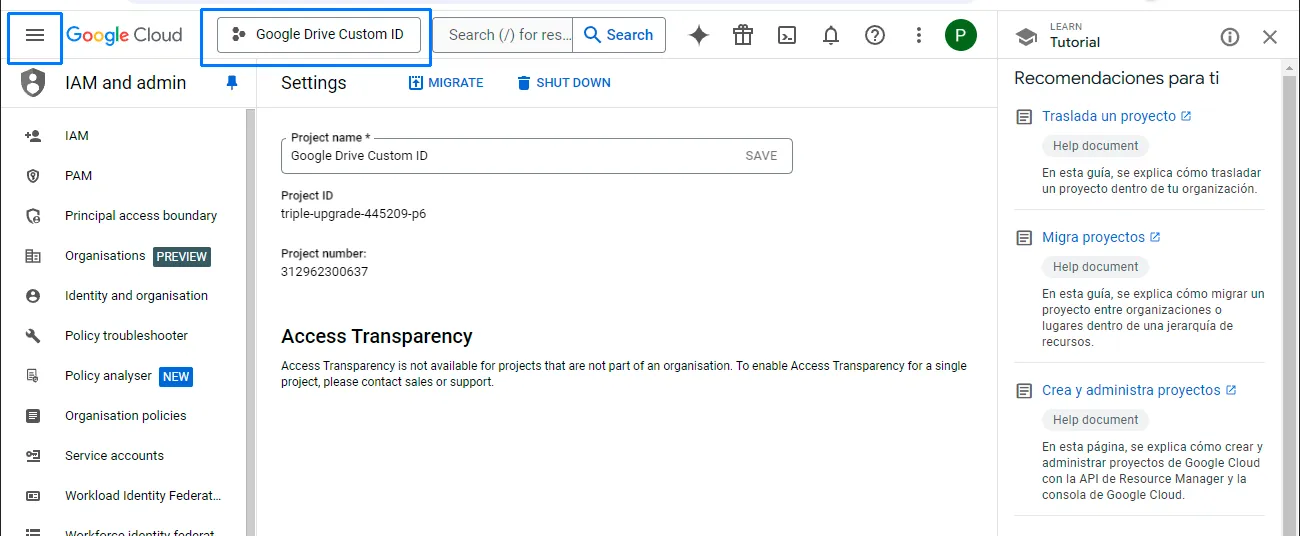
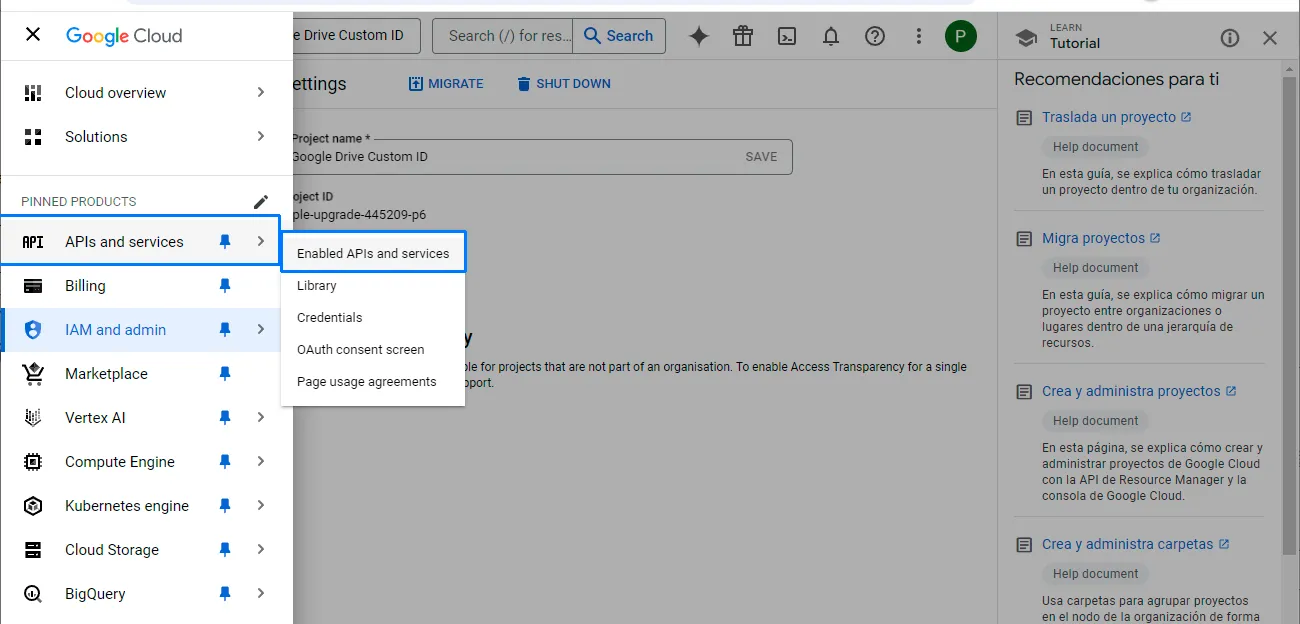
Navigate to APIs & Services and click on Enabled APIs & services.
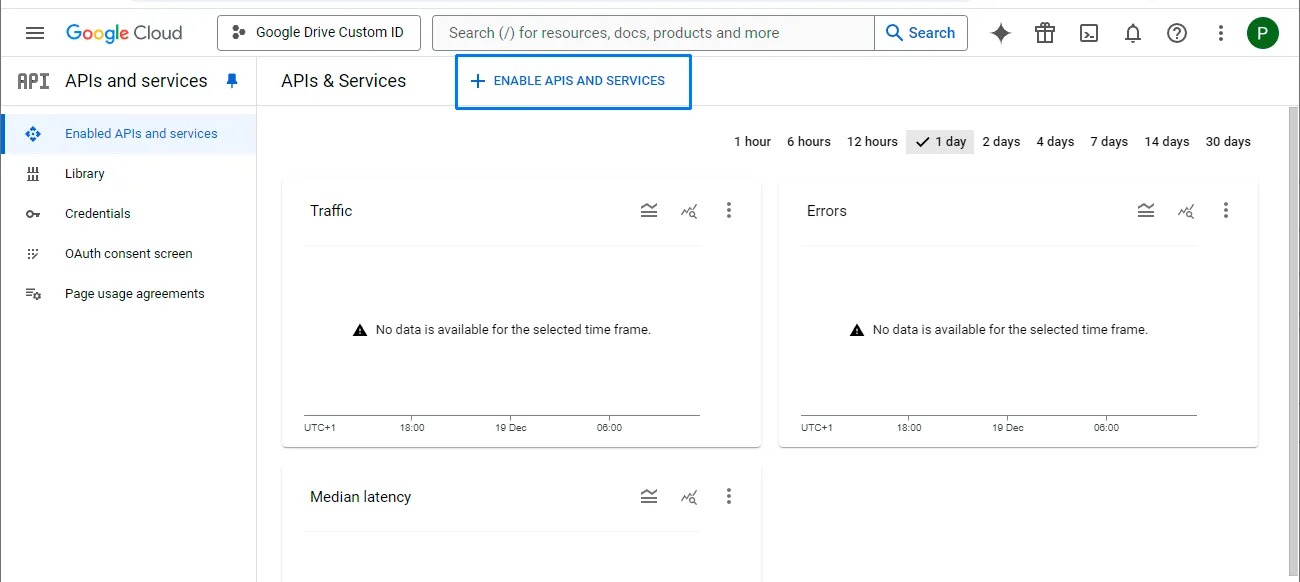
Select ENABLE APIS AND SERVICES
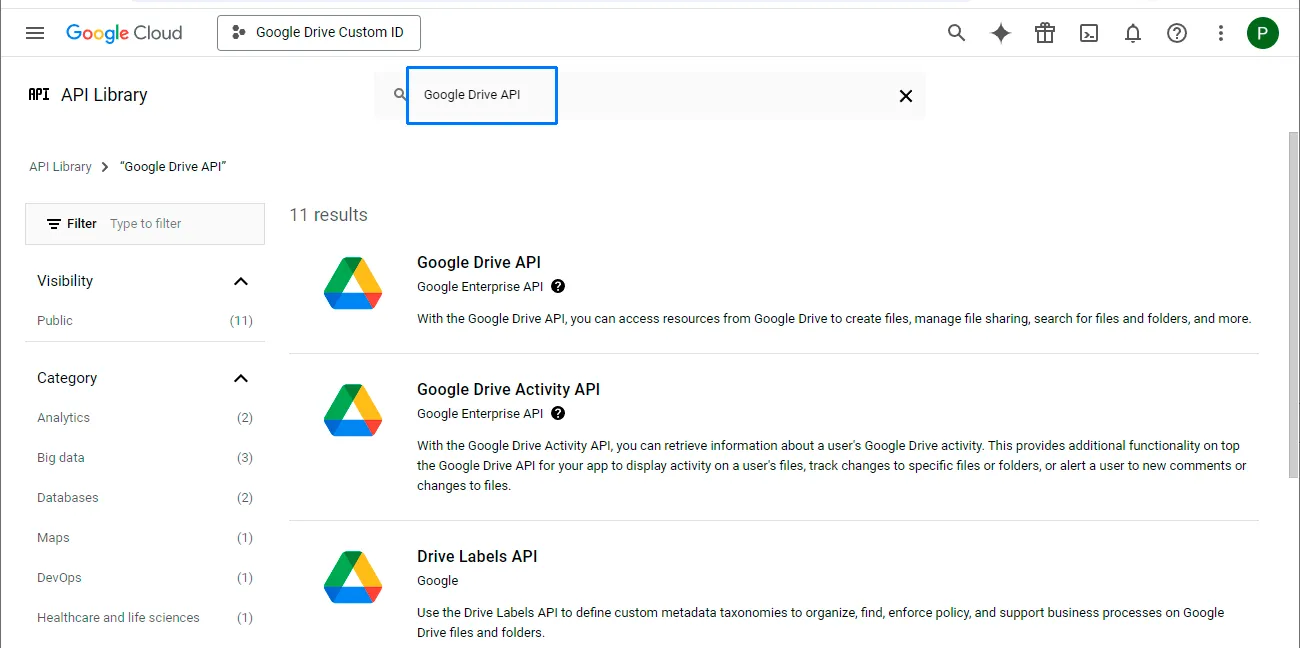
In the search box of the API library, search for “Google Drive API”
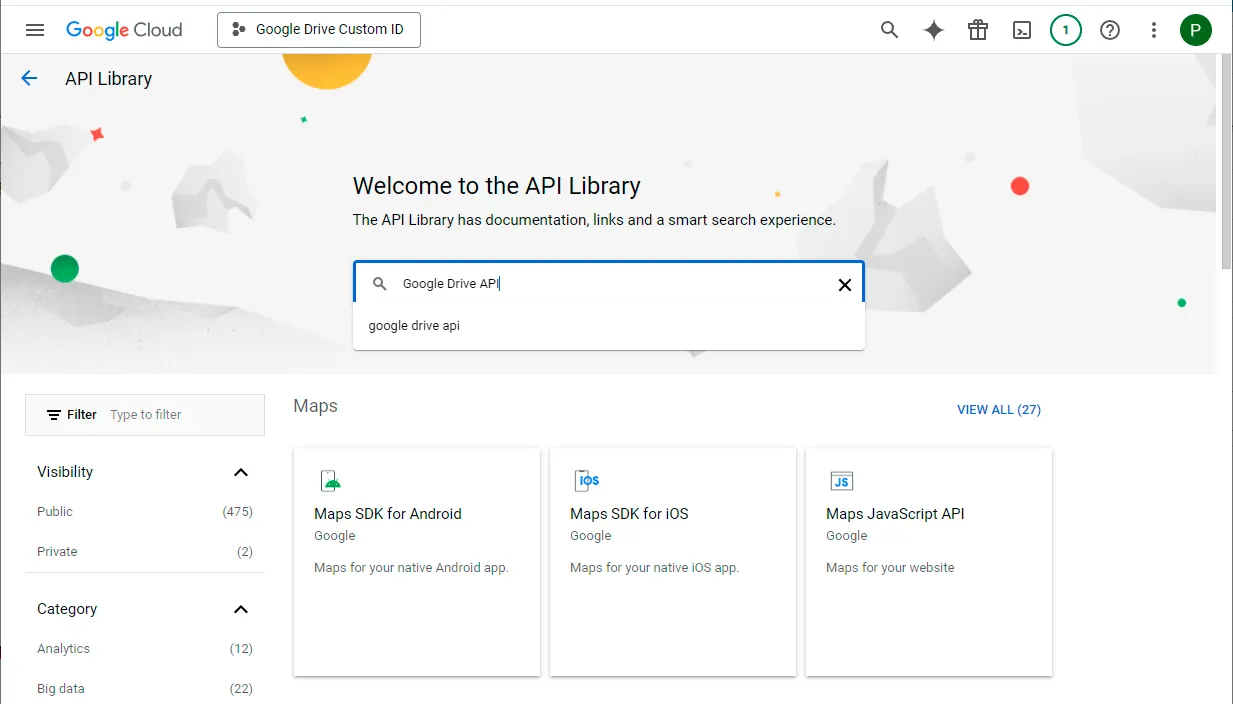
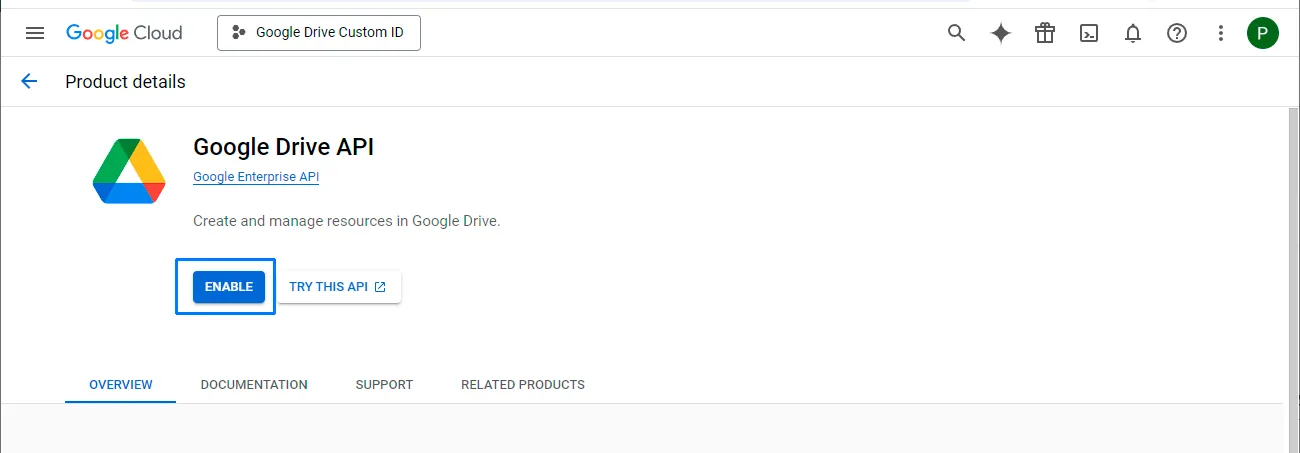
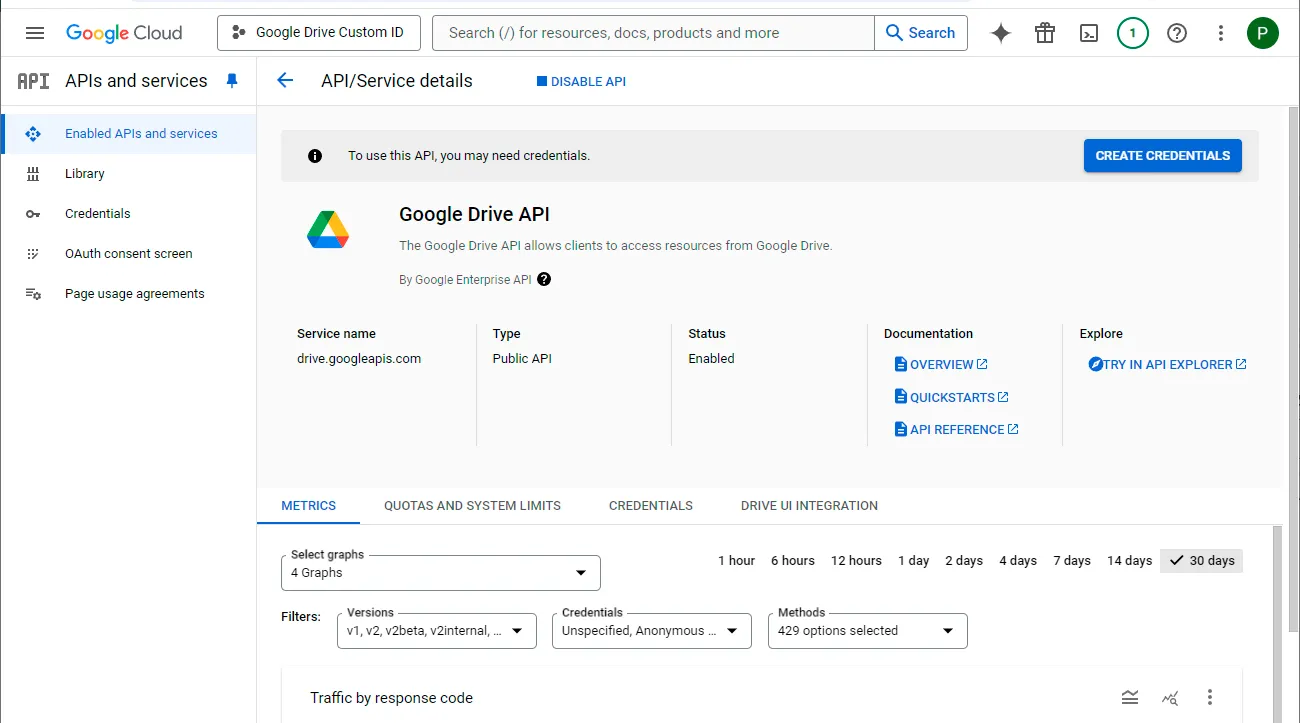
Select Google Drive API from the search results and choose Enable.
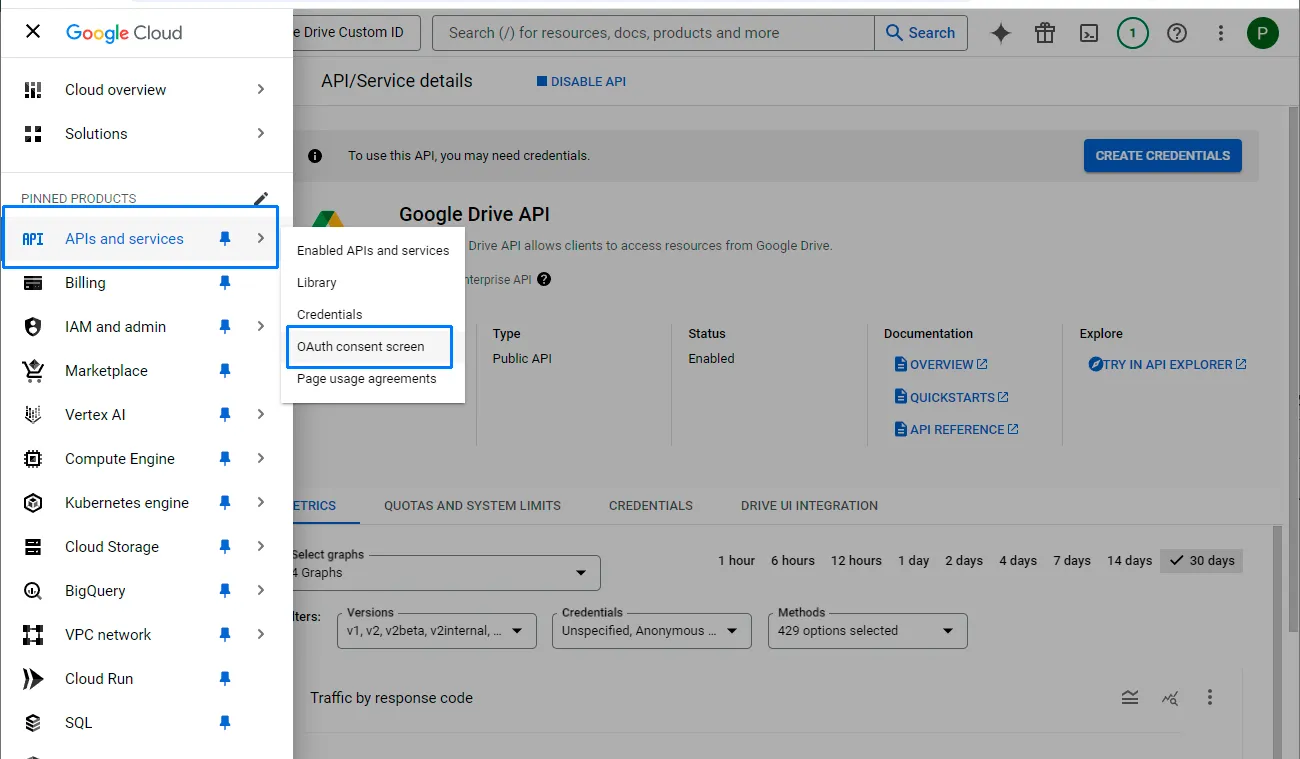
3- Navigate to APIs & services and click on OAuth consent screen.
Choose External. You can choose Internal if you want to use this app ID within your company only. And click on CREATE.
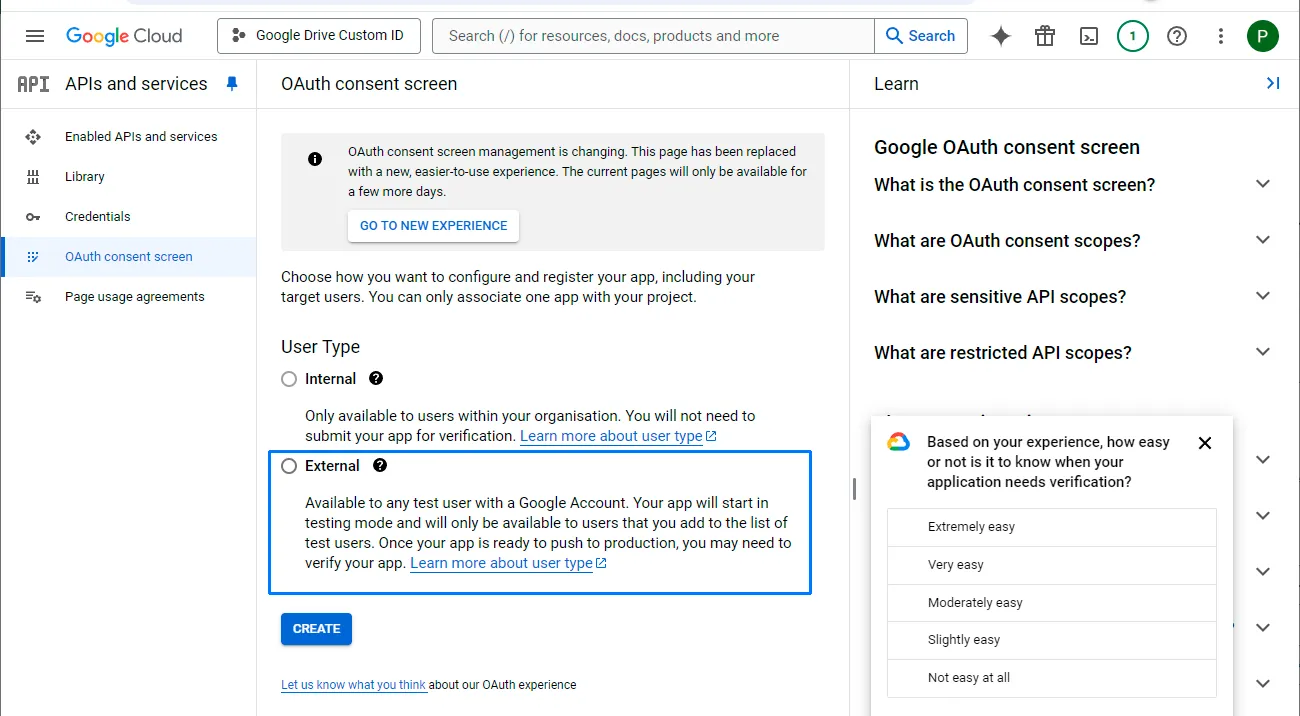
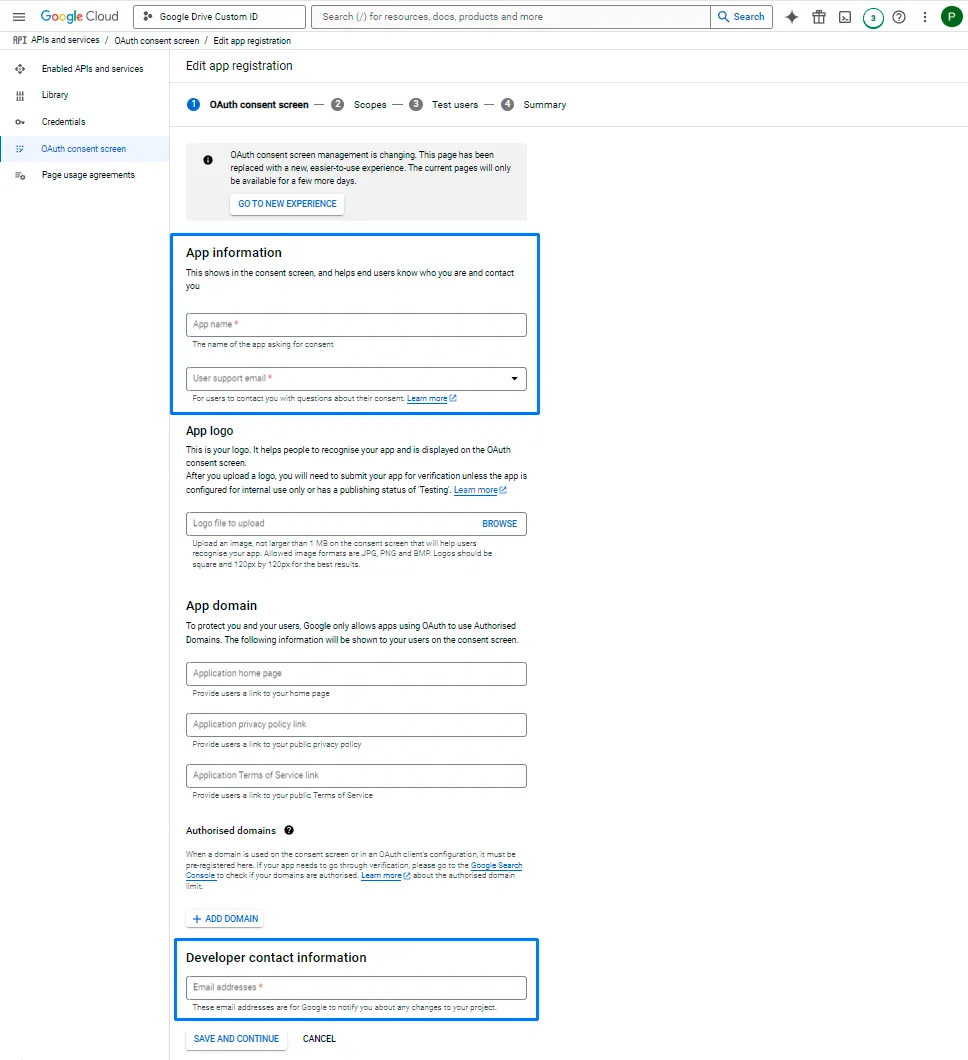
4- Enter an “App name” (“Google Drive Custom ID” is OK); enter “User Support Email” (your own email is OK). Use the same email as the “Developer contact information”. Click on SAVE AND CONTINUE.
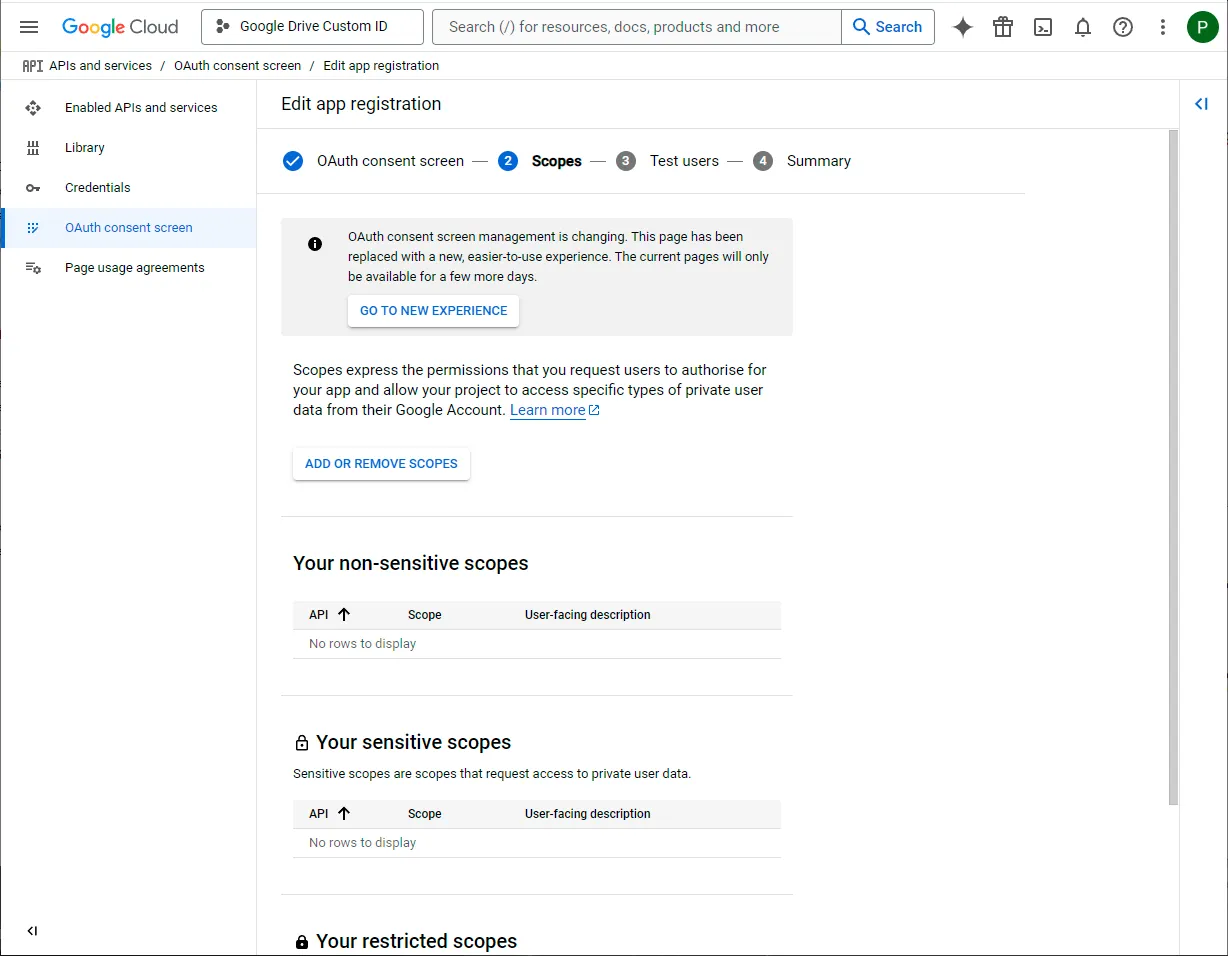
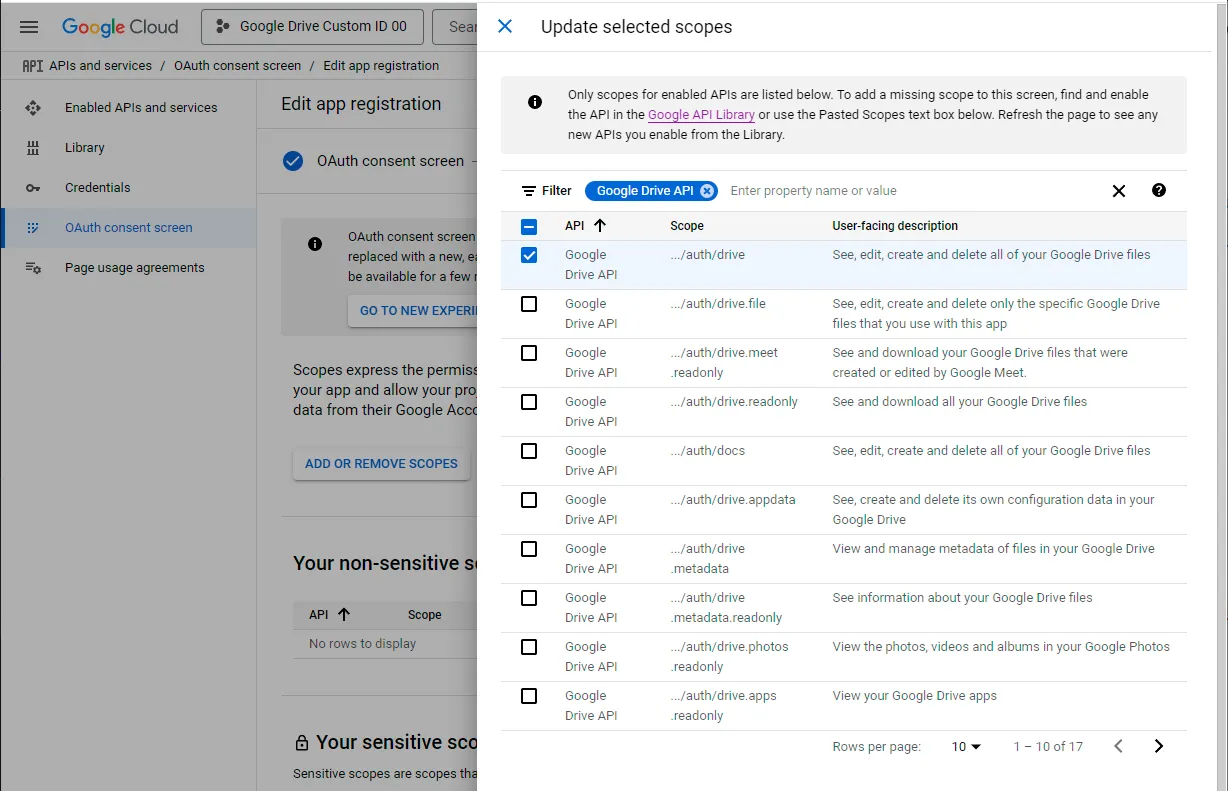
5- Click on ADD OR REMOVE SCOPES.
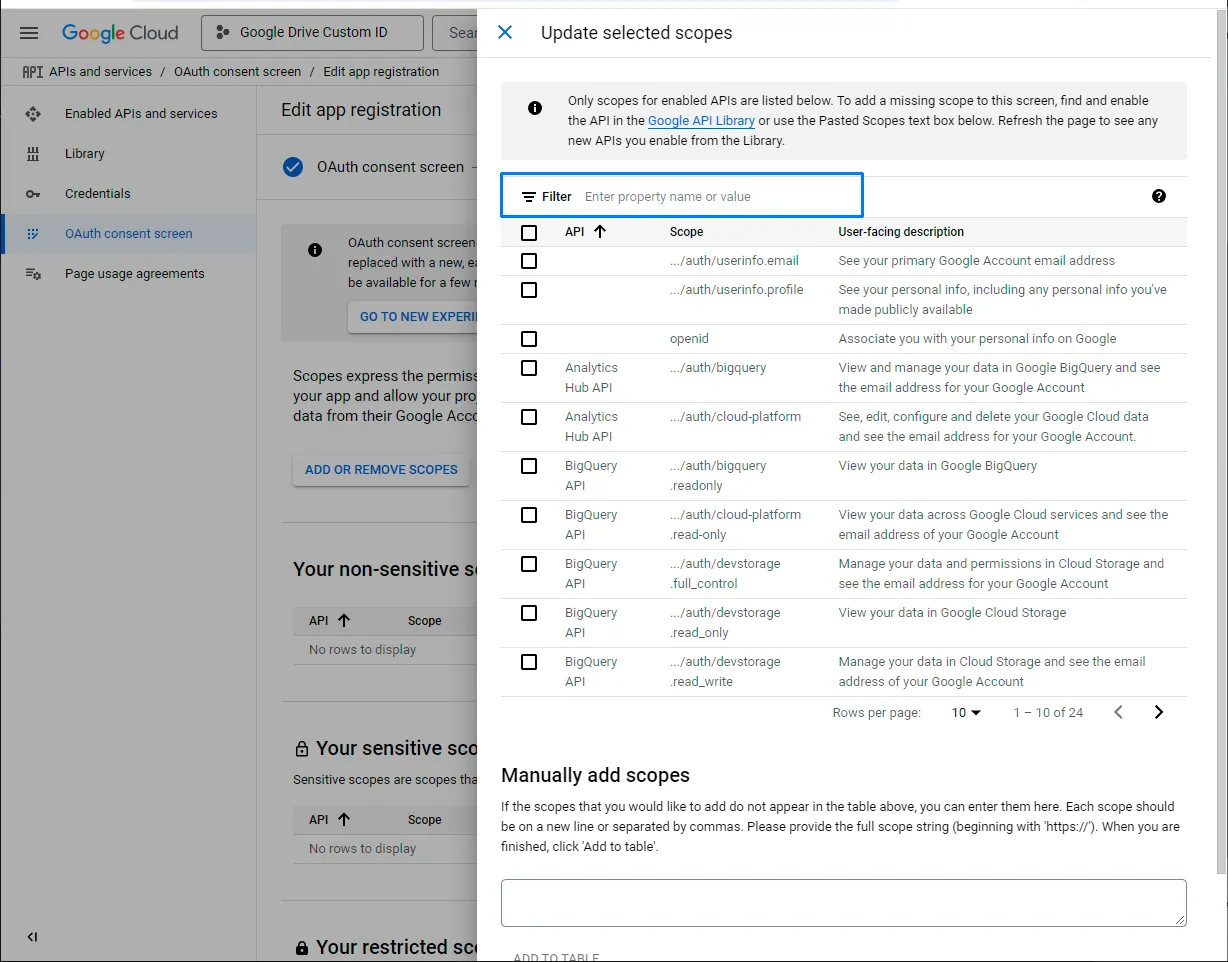
Filter for “Google Drive API” and enable the scope …/auth/drive and click on UPDATE.
Click on SAVE at the bottom.
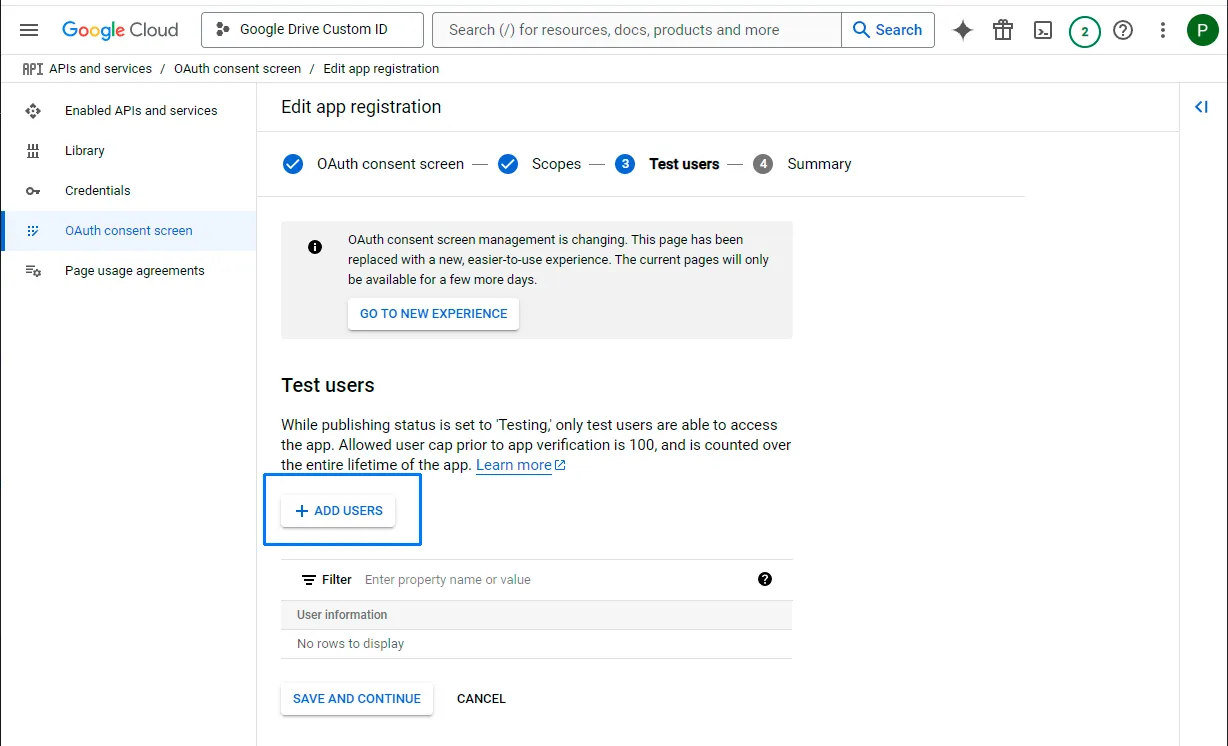
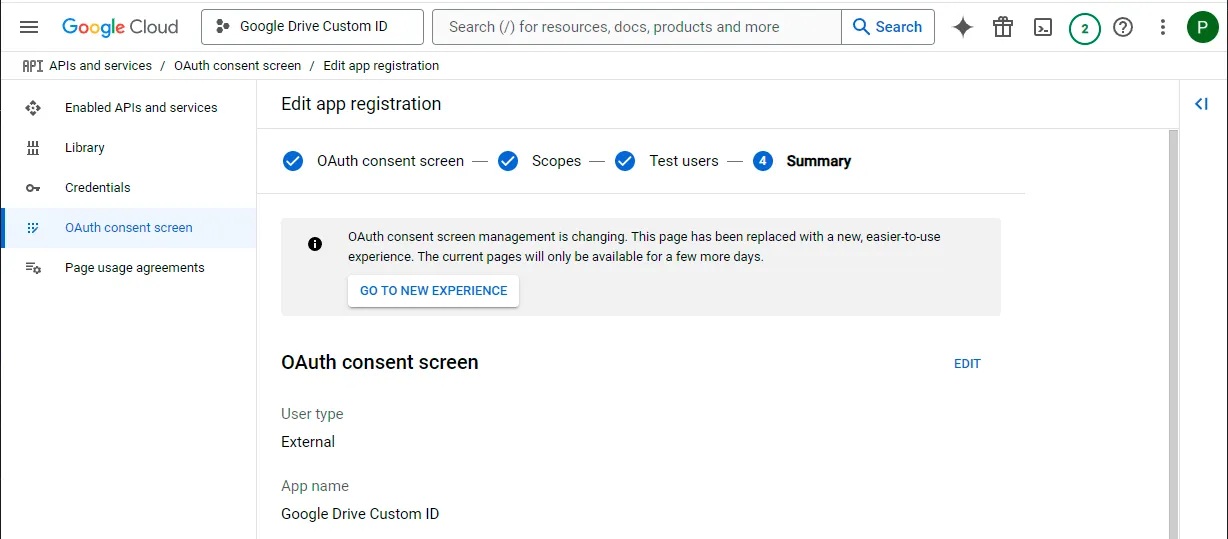
6- Add a test user. You can yourself as a test user.
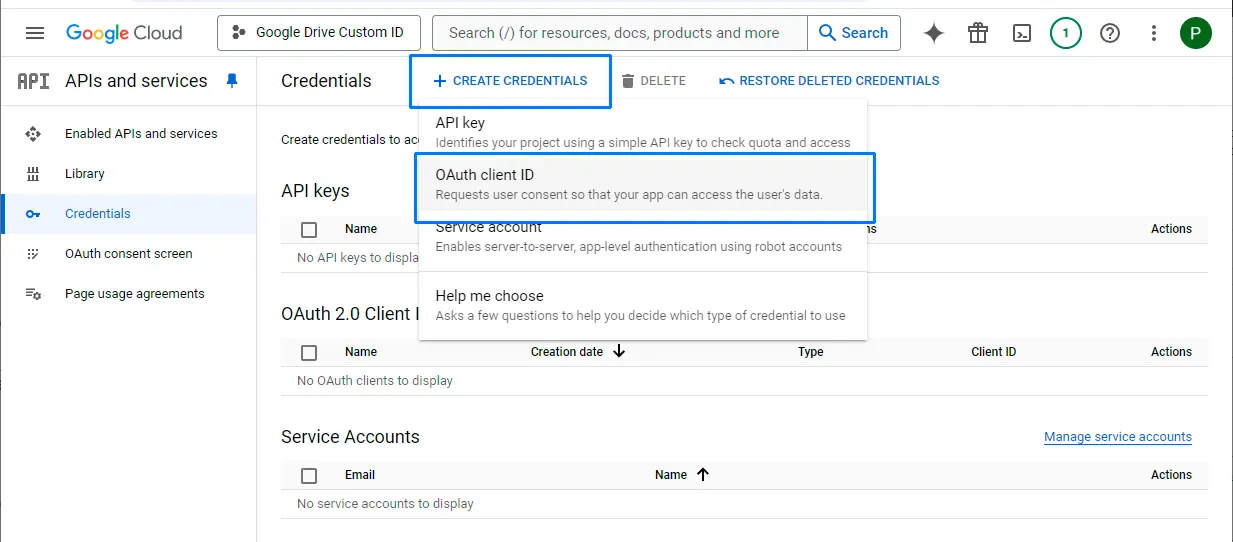
7- select Credentials and click on CREATE CREDENTIALS” button at the top of the screen, then select “OAuth client ID”.
8- Choose an Application type of “Desktop app” and click “Create”. (The default name is fine)
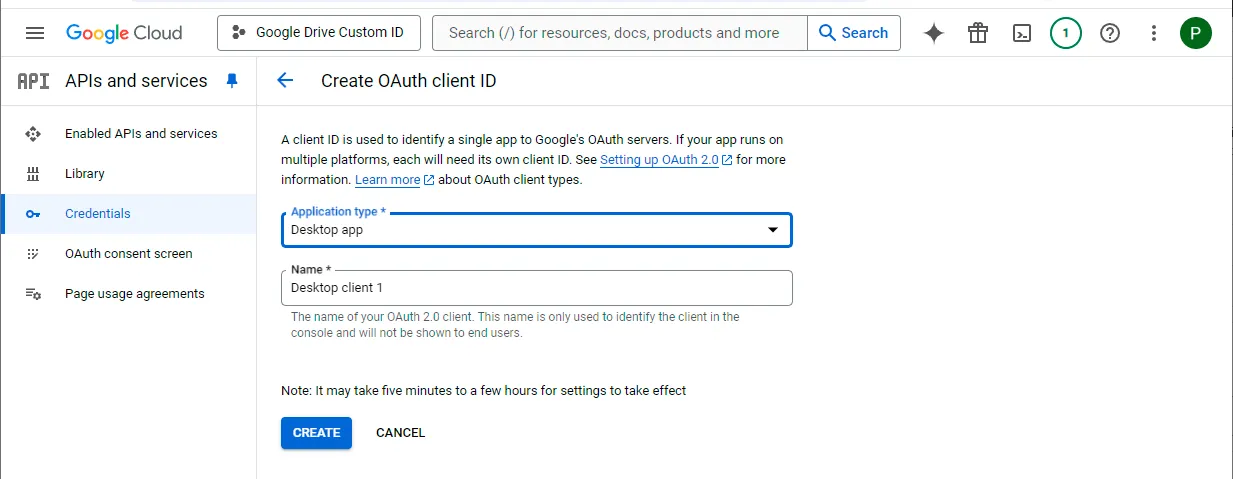
9- It will show you a client ID and client secret that you will need to enter in Air Explorer.
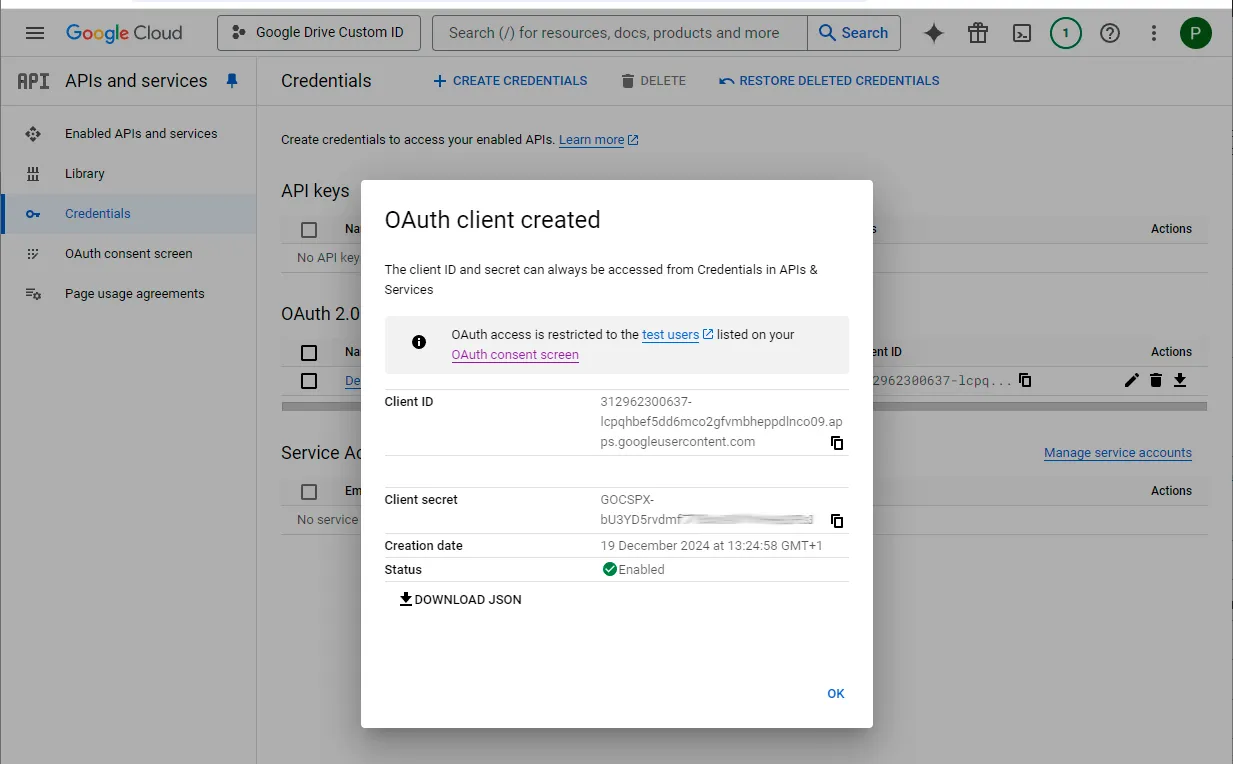
10- Go to “Oauth consent screen” and then click “PUBLISH APP” button and confirm.
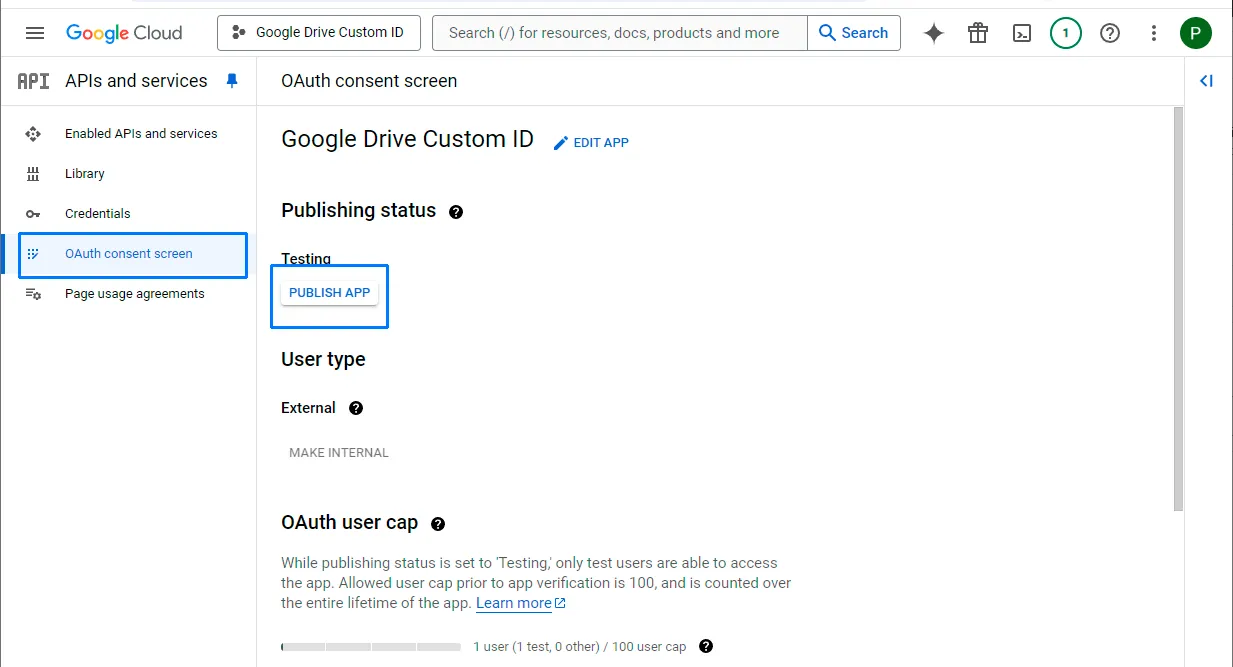
You don’t need to submit your app for verification. You can just use your client ID and client secret in Air Explorer
11- Provide the noted client ID and client secret to Air Explorer.
Add the Google Drive account in the icon “GoogleDrive Custom Client Id”.

Enter the Client ID and the Client Secret.
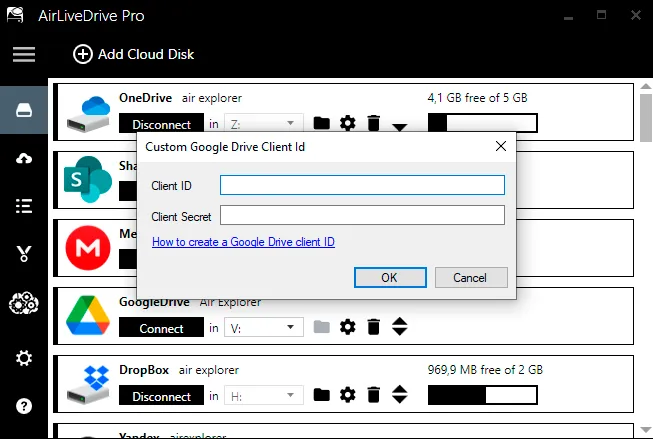
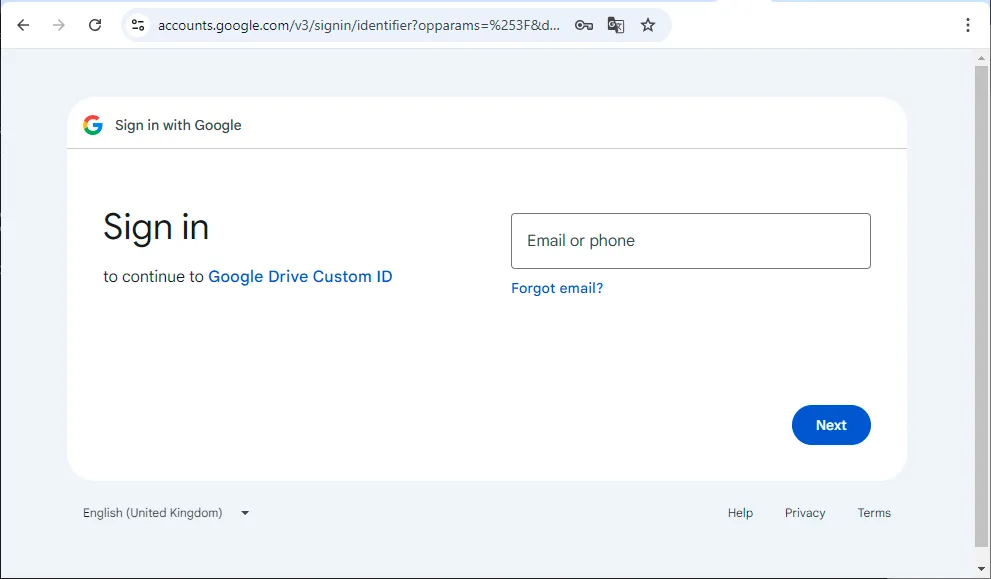
When you enter the Client ID and Client Secret, a browser window will open, prompting you to enter your email address.
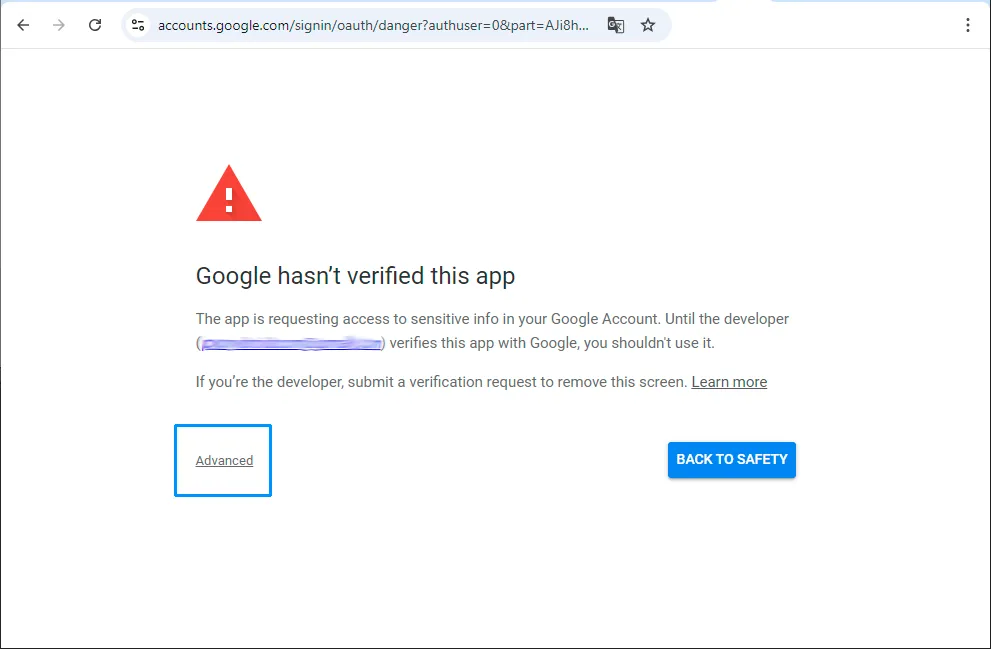
Click on “Advanced”.
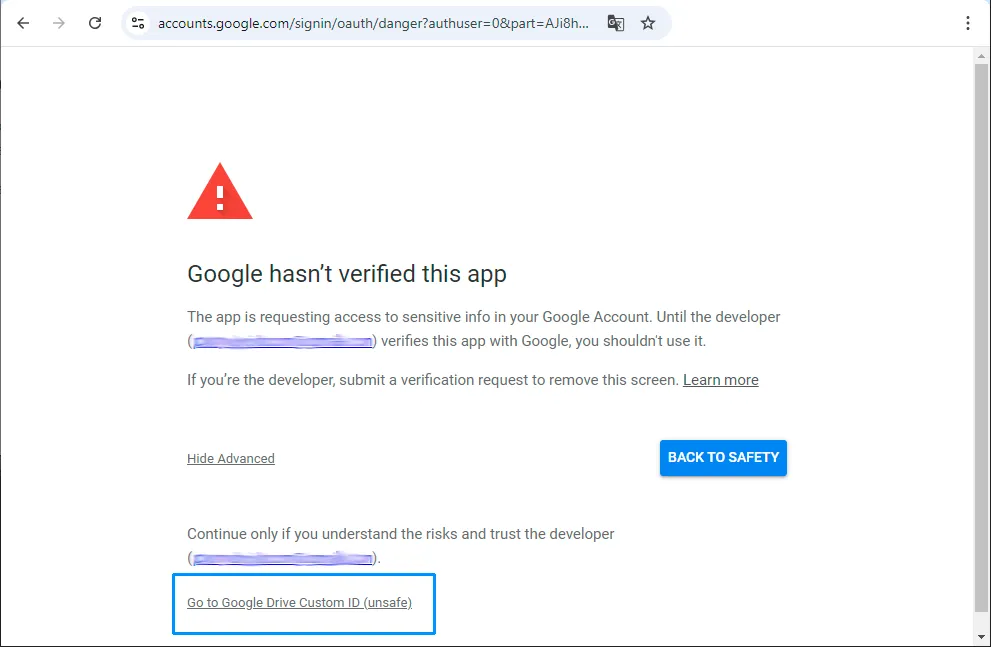
Click on “Go to Google Drive Custom ID (unsafe)”.
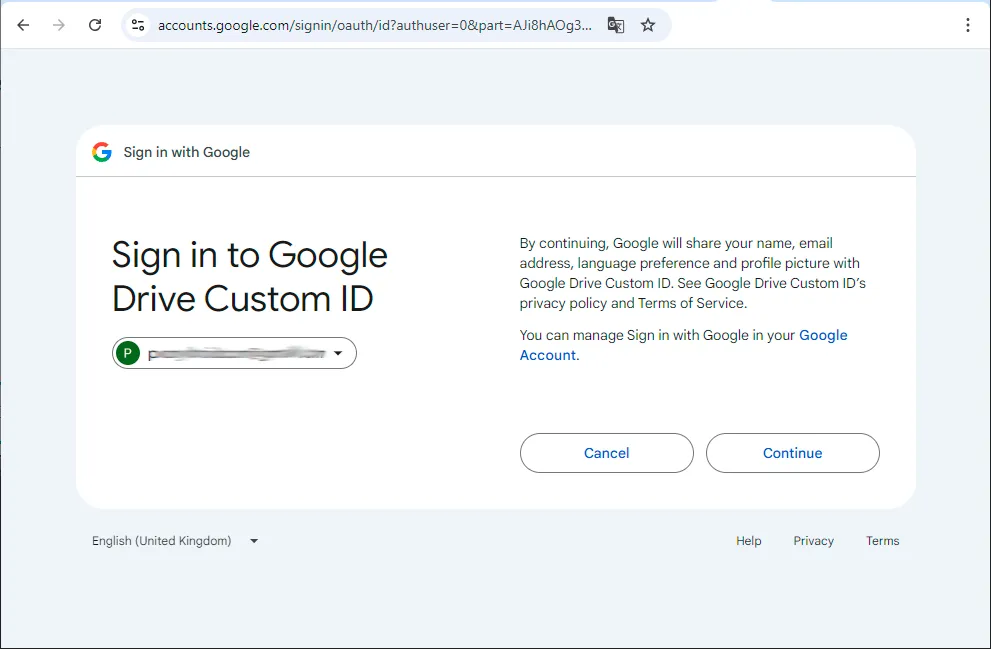
Click on “Continue”
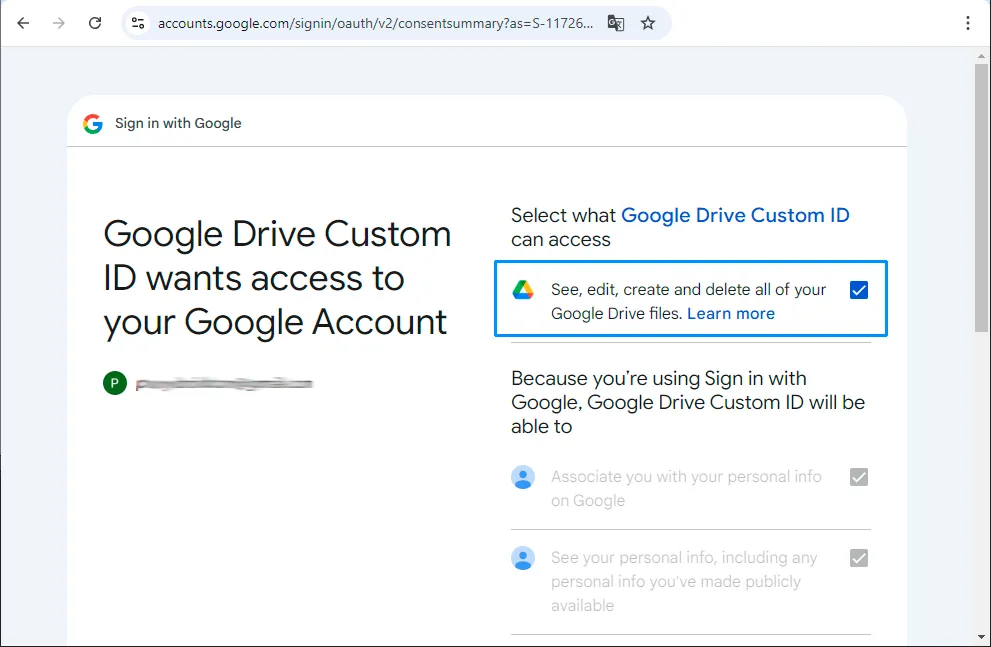
Check “See, edit, create and delete all your Google Drive files” and Continue.